|
    
|
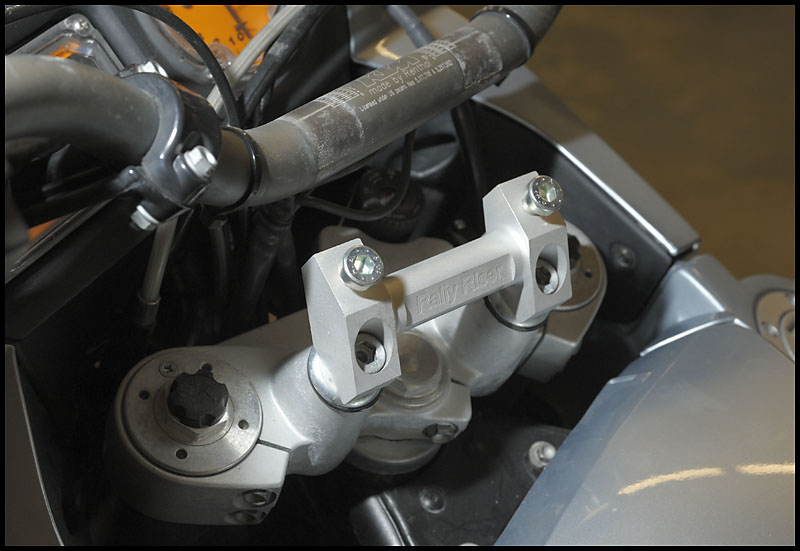
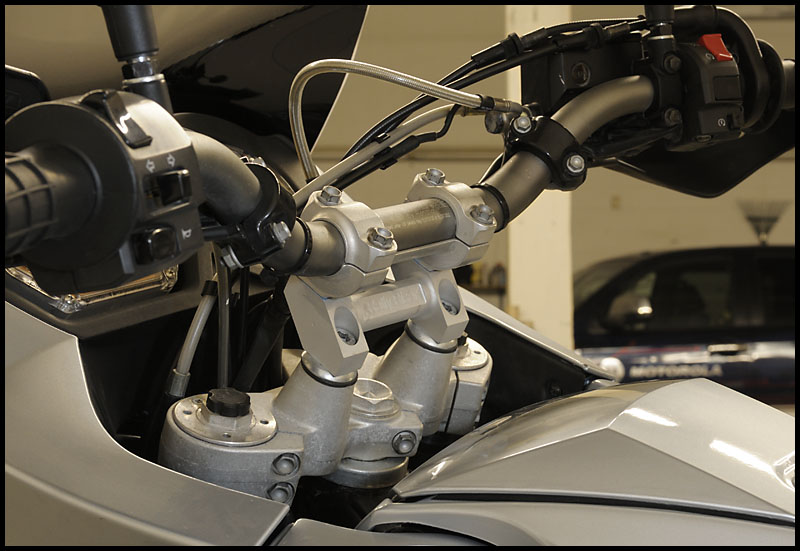
These were actually a pain to install since the nut is on the underside:
I'm surprised what a difference this simple device made. I never realized how low those bars were until I moved them up. Much more natural feeling and should be easier on my hands and back (I have a bad back so every bit helps)
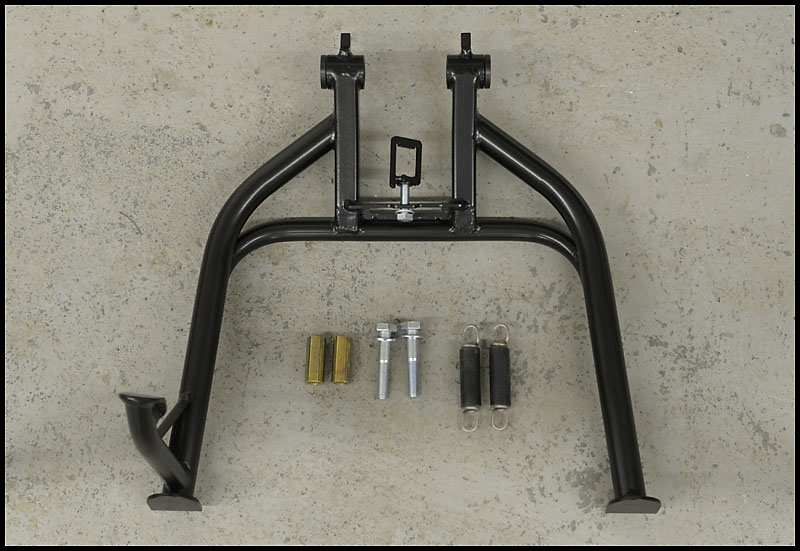
From KTM is this center stand. Hmmm, no instructions..... well how hard could it be?
Of course, with a statement like that it decided to put up a fight. Turned out that one of the bushings was just a bit too small for the unthreaded section of the bolt to fit into and needed to be reamed out a hair.
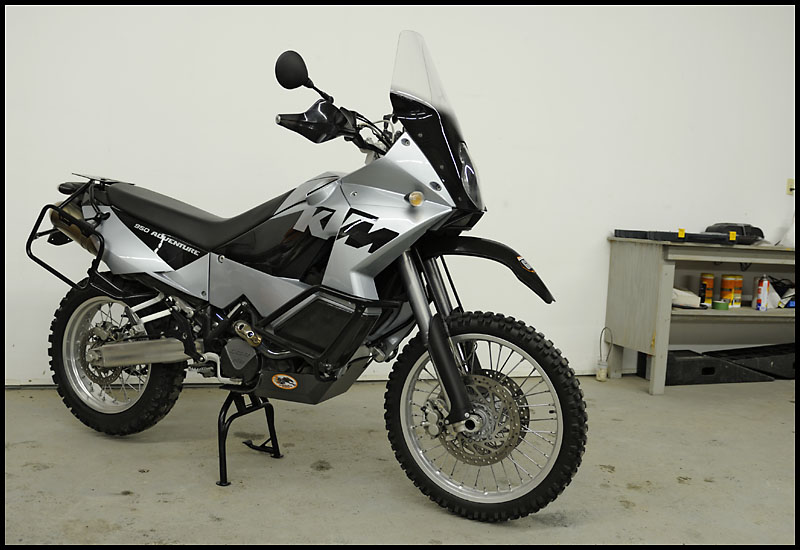
Wow - this should have been the first thing to go on. Made the bike much more stable to work with.
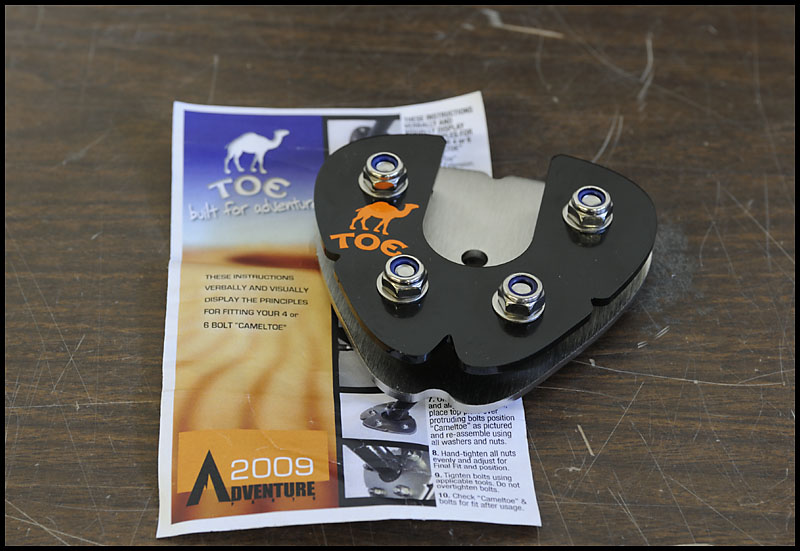
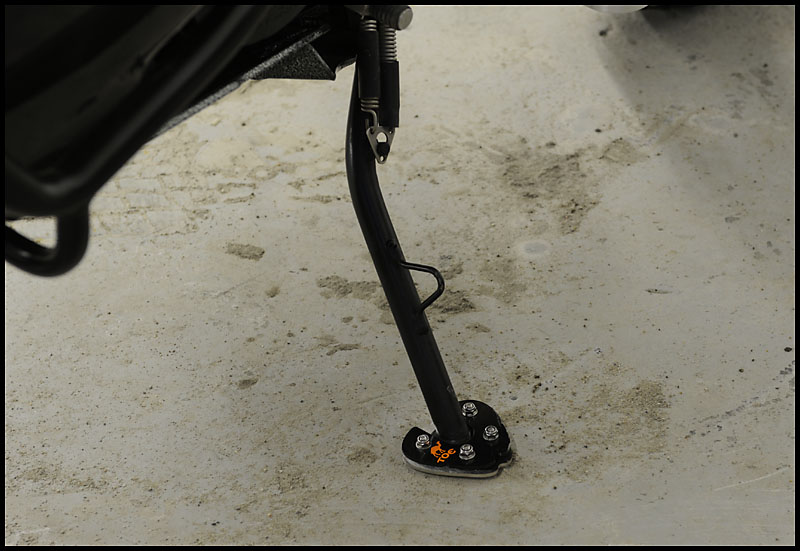
I also added this "Camel Toe" to the side stand. Seemed like a good idea instead of always having to find a pop can or rock:
These plastic frame protectors prevent your boots from scratching up the frame.
Although I didn't get a picture, I had to dremel off the extra plastic on the left side one so it matches the right. Looks like it is supposed to act as a partial chain guard but there is already a full guard in place.
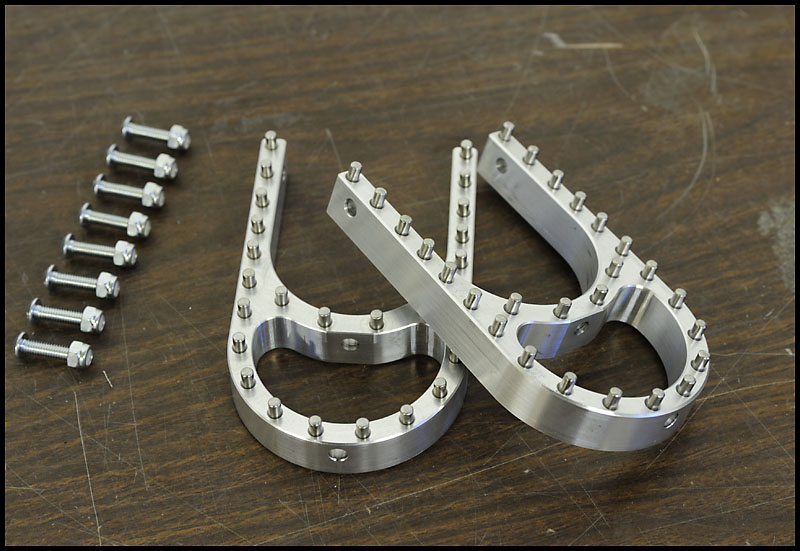
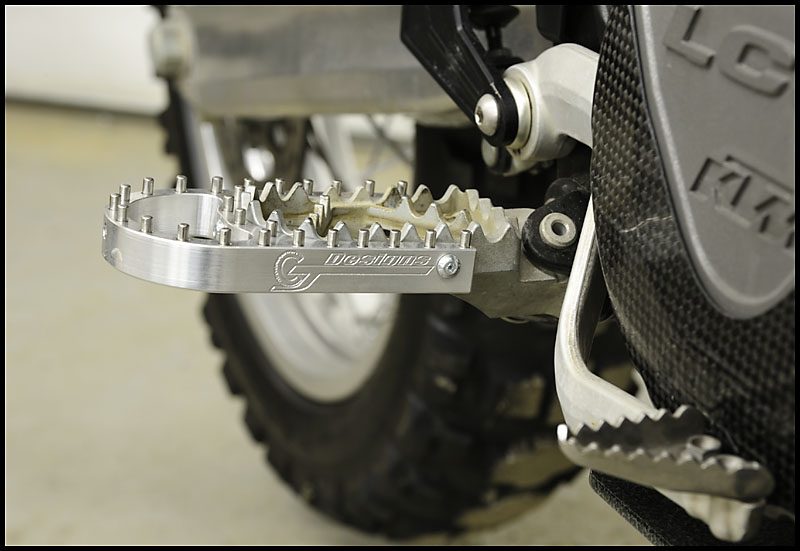
Speaking of boots, these are footpeg extenders from CJ Designs.
Craig calls this his "DIY" design ("Drill Your Own"). They are bolted to the factory pegs by drilling three holes:
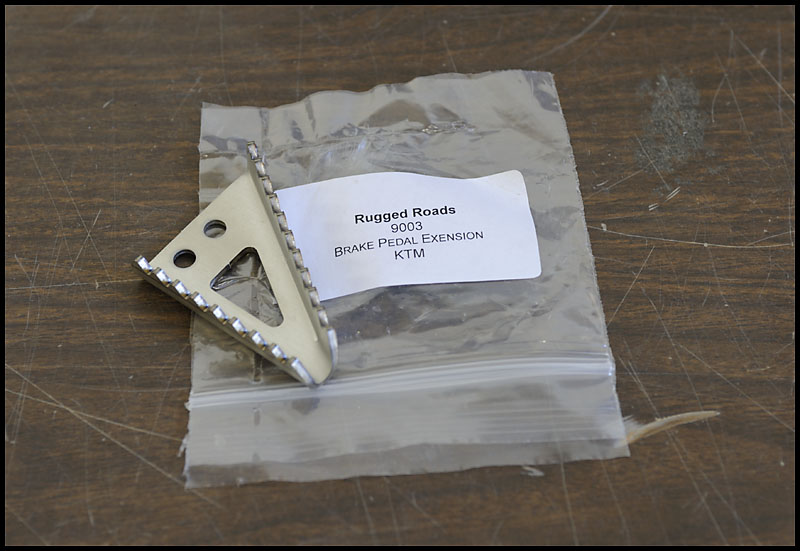
With the bigger footpegs installed, I now found the rear brake seemed small and difficult to find. So, with a little research, I found this larger pedal at Adventurer's Workshop:
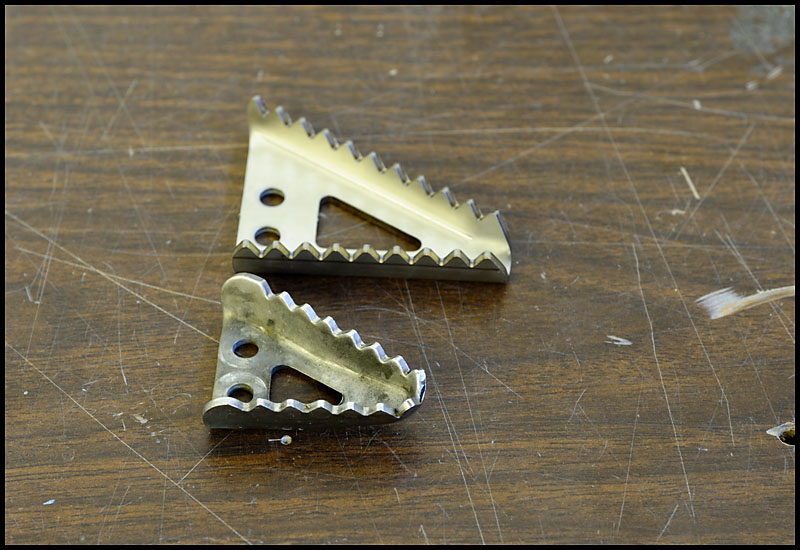
Here it is next to the original one. It is a good deal larger:
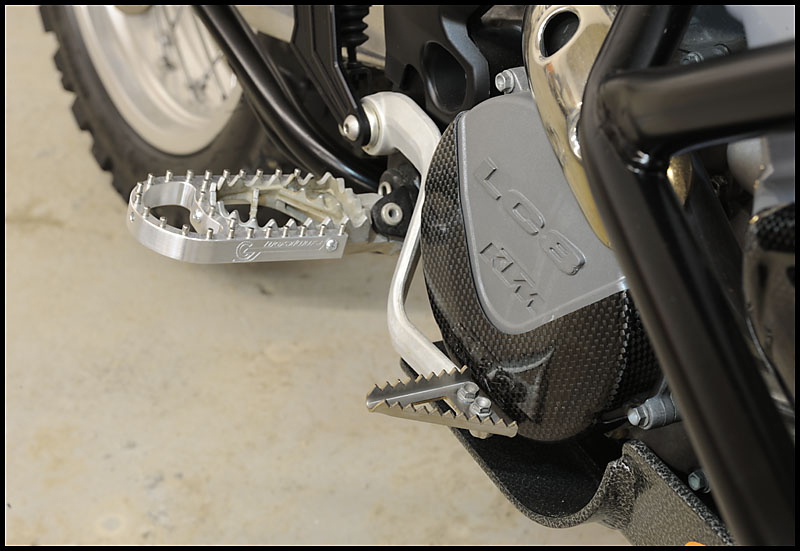
Installed:
| |||||