|
    
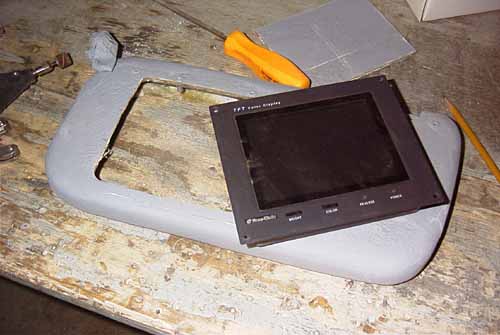
Once it is primed and painted, I can begin lining up the display and control positions. |
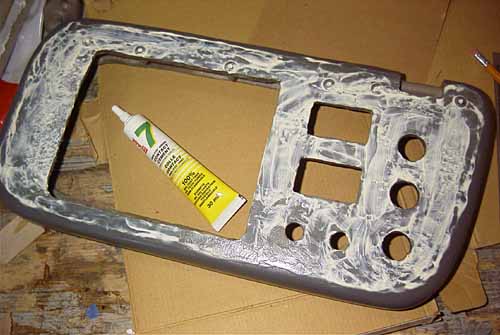
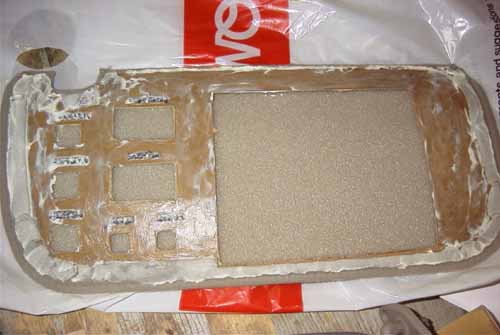
The holes are all cut and the material is laid back on to mark the control locations. It was now brought to an embroidery shop to have text stiched on to indicate the control's function (i.e. power, reset etc).
Once the embroidery work is done, the material is glued to the fiberglass visor with contact cement.
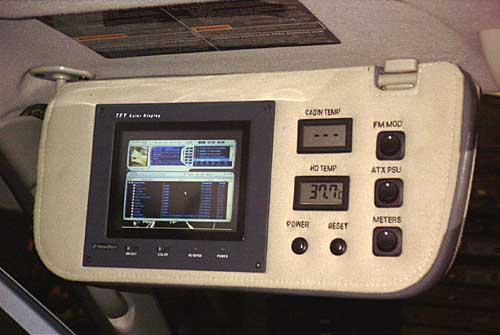
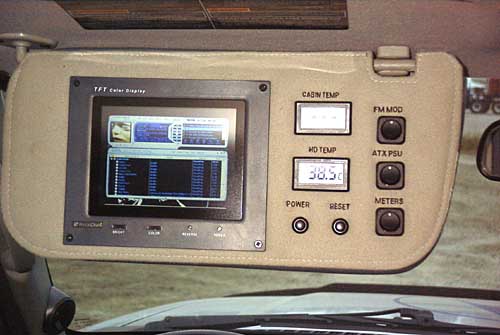
And that seems to be the end of the construction pictures. I was really trying to hustle towards the end of this project as I about to go camping for a week and wanted it done. The only images missing are of the internal wiring and the voltage regulator for the CompuNurses. Anyhow, here are the pictures of the completed viser.
I inlaid two CompuNurses to show the ambient and hard drive temperatures. The hard drive temp is important as I certainly don't want to accidentally fire up the machine while it is sitting at -30C! So basically, the start up procedure is to first turn on the meters and check the HD temp. If it is OK then the ATX supply can be enabled and the machine powered up. The switch labled FM MOD is to turn on the RF modulator for audio input to the head unit.
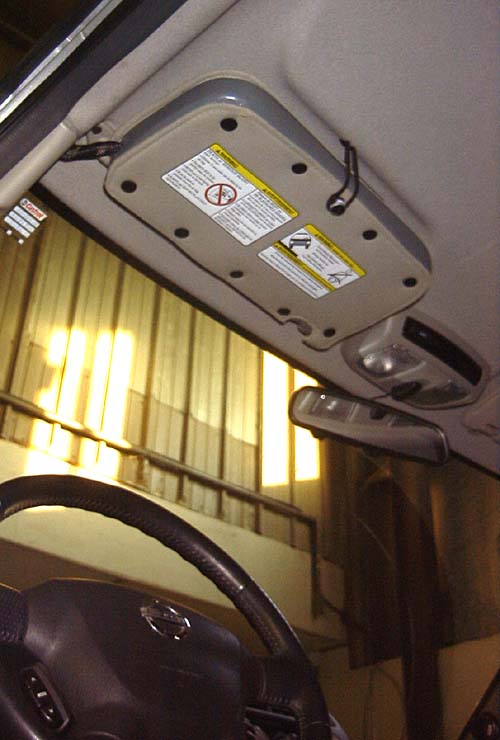
Finally, here it is folded up.
Those black spots are upholstery tacks holding the material on. This way it can be easily disassembled for troubleshooting or modifications etc.
| ||||