|
|
[1] [2] [3] [4] [5] [6] [7] [8][9] [10] [11] [12] [13] [14] [15][16] [17][18][19][20][21][22][23][24] |
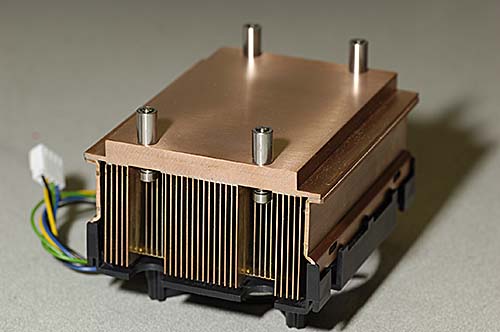
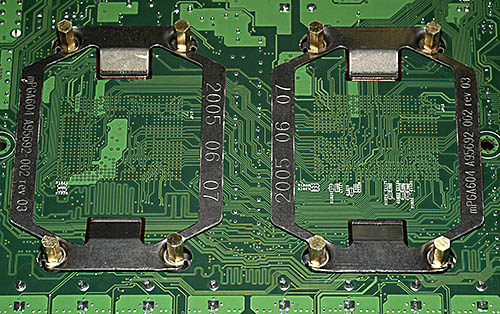
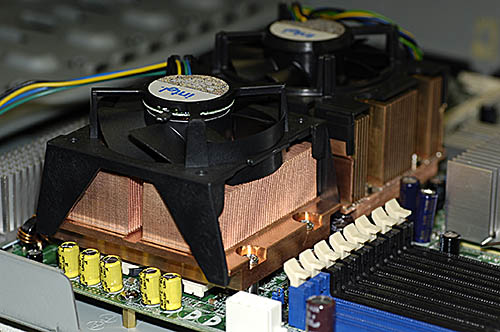
All the data is backed up from the old array and it is time to start the build. The first modification required is due to the unusual (to me anyhow) method of mounting the heatsinks for the Xeons. They mount straight through the motherboard and into the chasis.
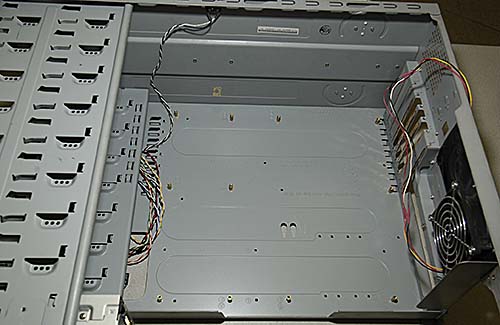
I guess it makes sense since they are quite heavy and there is two of them but it does present a problem since this is an older case and is not configured for such an installation.
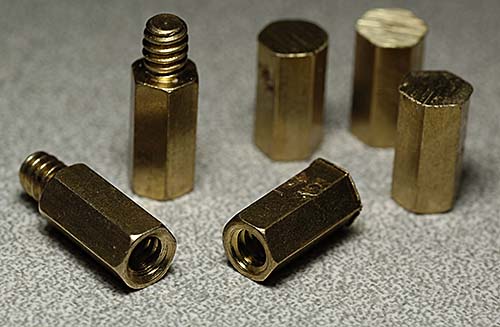
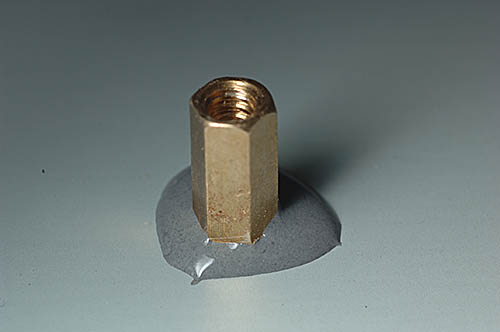
At first I thought I'd just thread some nuts onto the captive bolts using the spring clip as a washer but I couldn't find a 6/32 nut small enough. I was also concerned about the weight twisting the motherboard. Plan two had me either drilling and tapping or using nut rivits but I quickly realized that I would never get the holes in the exact location. Finally, I had the thought to just grind away the threaded section and use the standoffs as the nuts to hold the heatsinks in place.
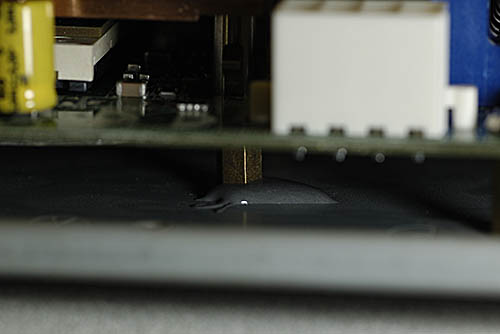
I put a glob of JB Weld in each of the locations where the modified standoffs will touch the backplane and screwed the motherboard into place.
So after allowing to cure overnight, I now have the standoffs in the proper locations for the heatsinks to mount and the strength to support them.
[1] [2] [3] [4] [5] [6] [7] [8][9] [10] [11] [12] [13] [14] [15][16] [17][18][19][20][21][22][23][24]
| ||||
