|
|
[1]
[2]
[3]
[4]
[5]
[6]
[7]
[8]
[9]
[10]
[11]
[12]
[13]
[14]
[15]
[16]
[17]
[18]
[19]
[20]
[21]
[22]
[23]
[24]
[25]
[26]
[27]
[28]
[29]
[30]
[31]
[32]
[33]
[34]
|
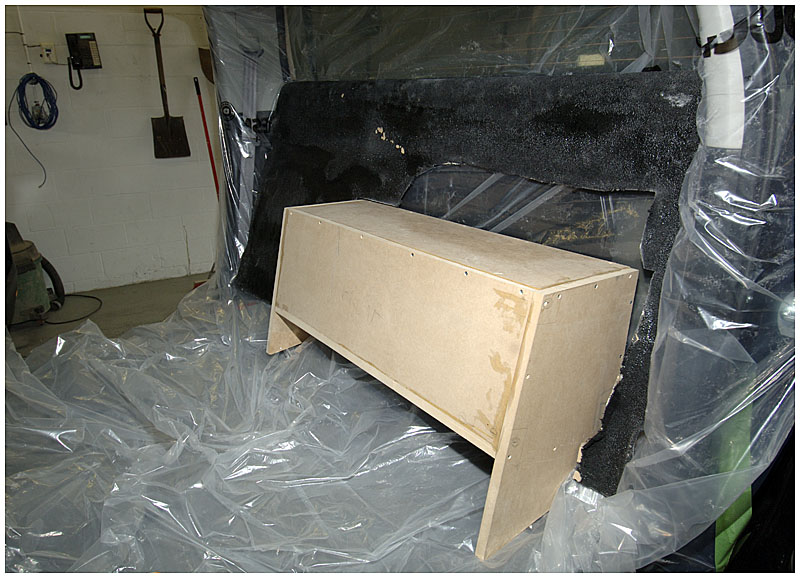
So with a test fit of the new back wall and some trimming I have my two pieces placed:
Now I have to figure out how I am going to keep the wall in place before I join it to the subwoofer enclosure. I decide to reuse the factory mounts by feeding a bolt back through them. When this piece is done, it is going to be really heavy so I may not have to bolt it in place at all but if I do, this mount will be handy as it will give me some side-to-side play for adjustment.
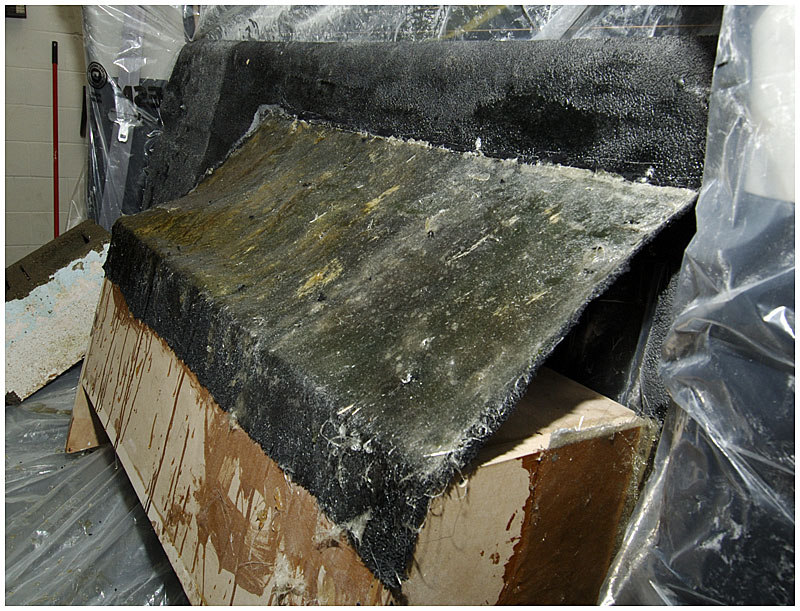
Again using the fleece, I make an angled bridge between the MDF subwoofer enclosure and the fiber glass back wall. The fleece is simply hot glued to the wood but in order to keep a straight line at the junction to the wall I screwed down a metal bar.
The fleece is soaked with resin and once it has hardened the first layer of glass is applied.
Next, the sides of the wall and the sub enclosure are bonded together. I need this to be as strong as possible before I remove it from the truck. It has to be a solid and inflexible so as not to change shape while working on it outside the truck otherwise it won't fit right.
As I kind of expected, when I removed the metal bar from the top of the fiberglass bridge I found that the top of the bridge was not bonded to the wall.
This actually works out in my favour as it lets me make a last minute adjustment to the back wall.
I add a second layer of glass to all three joints and once hardened I can finally get this thing out of my truck!
| ||||


